Mailcow
Support level: Community
Allows users to authenticate using their Mailcow credentials
Preparation
The following placeholders are used in this guide:
authentik.companyis the FQDN of the authentik installation.mailcow.companyis the FQDN of the mailcow installation.
Mailcow
- Log in to mailcow as an admin and navigate to the OAuth2 Apps settings

-
Click "Add OAuth2 Client"
-
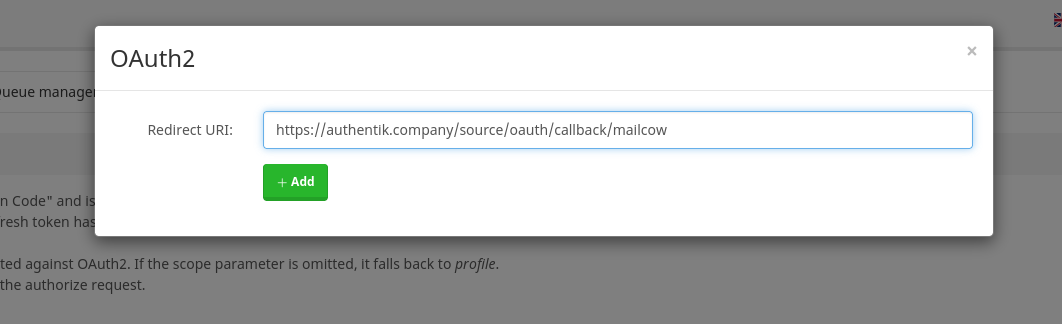
Insert the redirect URL:
https://authentik.company/source/oauth/callback/mailcow/
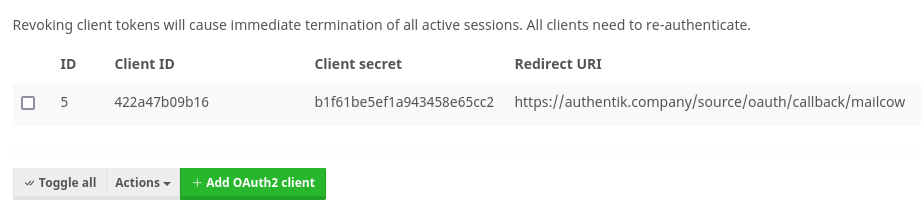
- Copy the Client ID and Client secret and save it for later
authentik
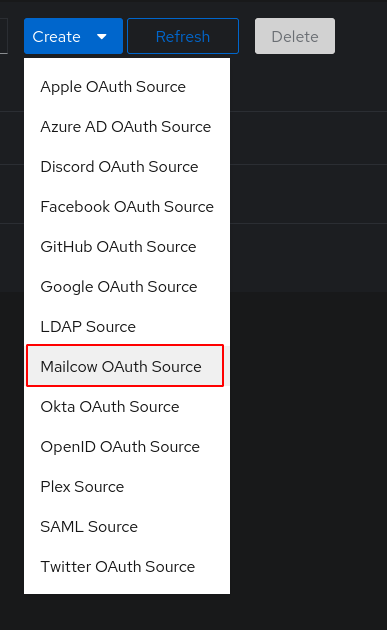
- Under Directory -> Federation & Social login Click Create > Mailcow OAuth Source
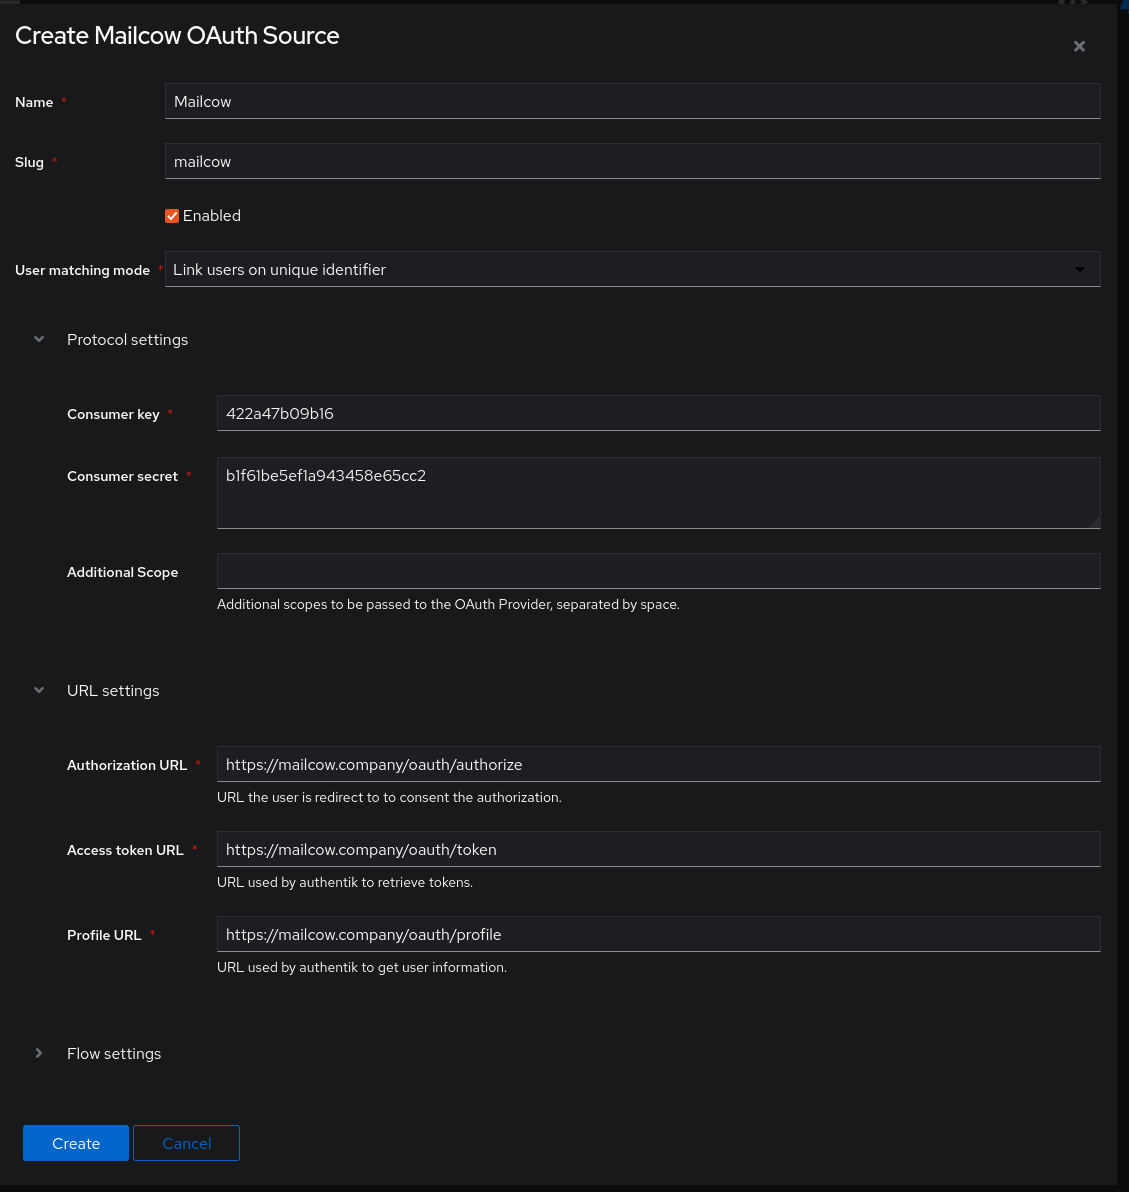
- Name: Choose a name (For the example I used Mailcow)
- Slug: mailcow (You can choose a different slug, if you do you will need to update the Mailcow redirect URL and point it to the correct slug.)
- Consumer Key: Client ID from step 4
- Consumer Secret: Client Secret from step 4
- Authorization URL: https://mailcow.company/oauth/authorize
- Access token URL: https://mailcow.company/oauth/token
- Profile URL: https://mailcow.company/oauth/profile
Here is an example of a complete authentik Mailcow OAuth Source
Save, and you now have Mailcow as a source.
note
For instructions on how to display the new source on the authentik login page, refer to the Add sources to default login page documentation.